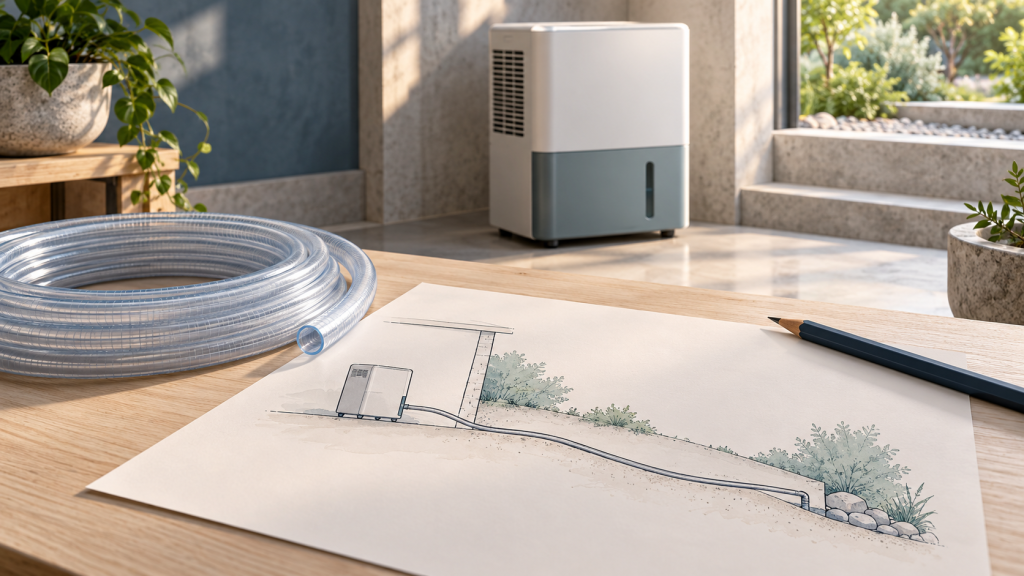
Imagine an outlet above a floor drain, with the hose crossing a raised doorway between them. The endpoint is lower, but the route is not continuously downhill. The problem is the rise at the doorway. Choosing a longer hose does not remove that rise.
A continuous gravity route must remain downhill from the machine’s designated gravity outlet to a permitted destination. A drain lower than the unit is not enough if the hose rises over an obstacle on the way. Plan the route before committing to the machine’s position.
Draw the path that the hose will actually take
- Identify the exact gravity outlet and the manufacturer-approved hose and connection.
- Locate a suitable discharge destination and confirm any plumbing requirements with the installer.
- Trace the complete path, including thresholds, stored objects and changes in level.
- Check for rising sections, kinks and unsupported sags.
- Keep the route accessible enough to inspect connections and discharge.
The Shield 85P manual, drainage section distinguishes gravity drainage from its pump connection. Treat that as a model-specific arrangement. Do not substitute the pump port because its location appears easier, or assume that another Argendon suffix has the same fittings.
Match the obstacle to the next decision
| Route observation | Planning consequence |
|---|---|
| A direct unobstructed downhill route exists | Verify the exact connection and drainage instructions. |
| A threshold forces the hose upward | Choose a different permitted route or assess pumped drainage. |
| The hose will be hidden behind stored items | Reconsider access and protection from compression. |
| Elevation would require an improvised unstable support | Stop and obtain a supported installation arrangement. |
Do not solve drainage by losing service access
A position that produces the shortest hose may block filter removal or place the control panel beyond reach. Compare both requirements before installation. The fit checklist includes access beyond the bare cabinet dimensions. If you need a raised support, confirm its suitability and the manufacturer’s requirements; this guide does not specify a platform design.
Information to give the installer
- Exact model and outlet location.
- A sketch of the full route and every obstacle.
- The intended destination and any proposed connection.
- The available access for inspection and servicing.
The installed hose must pass the check
After installation, observe actual discharge and check accessible connections under the manufacturer’s instructions before relying on unattended operation. A route drawing is not proof that an installed hose drains correctly.
If a rise cannot be avoided, use the gravity-versus-pump decision; pump lift and hose length then become separate checks.